
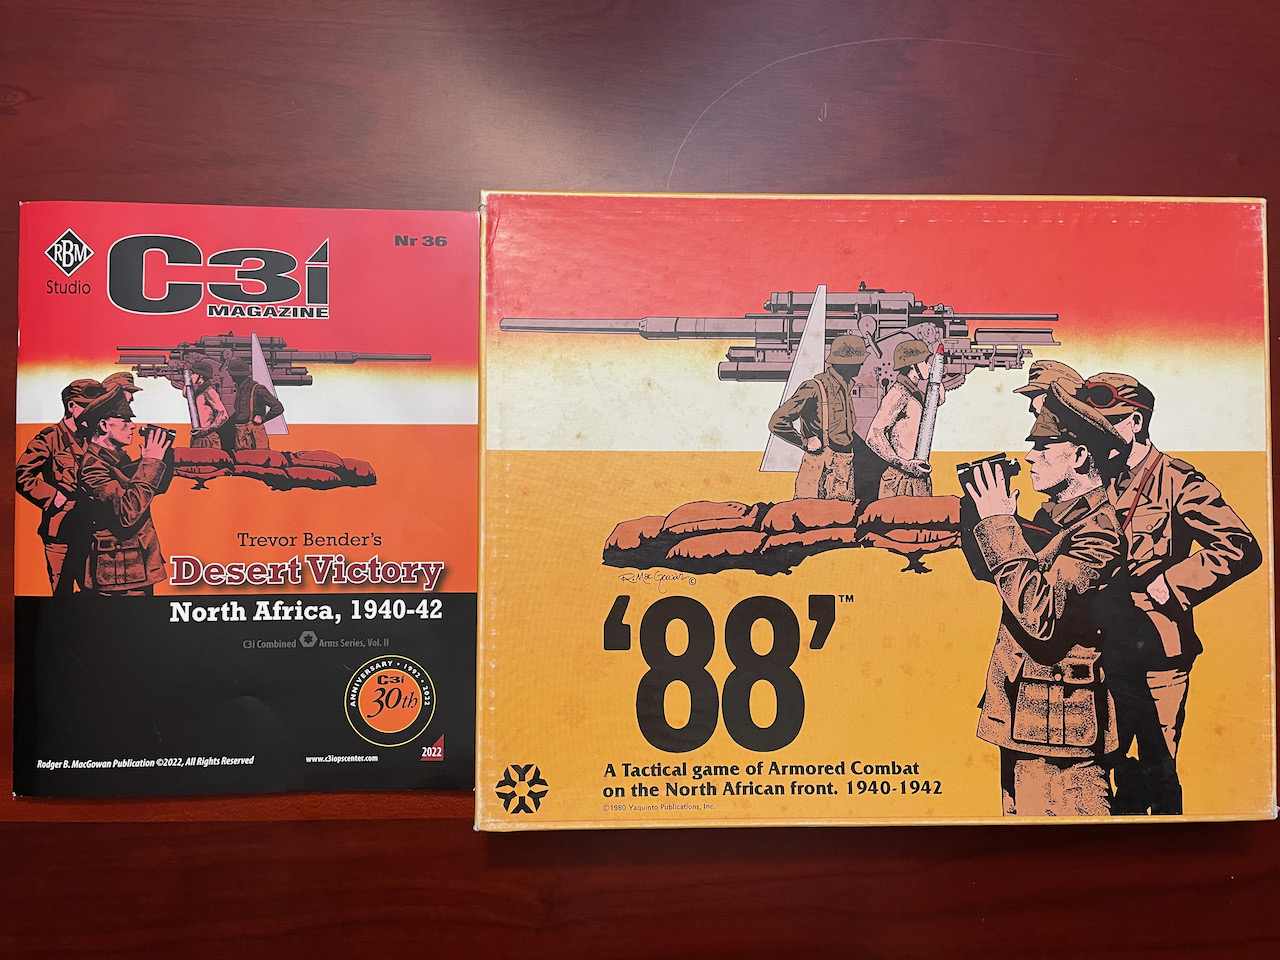
The first wargame I ever owned or played was Panzer: A Game of Tactical Combat on the Eastern Front, 1941-1945 by designer Jim Day from Yaquinto Publishing 1979. Not long after I got the second game in the Panzer series, ’88’: A Tactical game of Armored Combat on the North African front, 1940-1942 (Yaquinto Publishing, 1980). Around that same time I came into possession of the book The Desert Warriors: The Battle for North Africa 1940-1943 by David Jablonski from Lancer Books in 1972. The cover tells me this is “Lancer’s Photobook History of Modern Combat #4.”
Since 1980 I have taken in five other North Africa wargames, the latest being designer Trevor Bender’s Desert Victory: North Africa, 1940-42. This new game is published in C3i Magazine Nr. 36 from RBM Studio and is Volume II of the C3i Combined Arms Series. It also uses the same cover image as ’88’ but only in reverse thanks to artist Roger MacGowan.
While I have taken in a few more North Africa games, I have actually taken in even fewer books on the history of the North Africa campaign. So it was with some trepidation that I looked to compare The Desert Warriors with Desert Victory. In the end I need not have worried because both book and game, though written over 50 years apart, look to similar themes when describing the campaign.
It’s All About Supply
In the Forward to The Desert Warriors, David Jablonski talks about the role supply played in the campaigns of North Africa:
A major problem, however, was supply. For the British had their port in Alexandria, and the Italians—and later Germans—depended upon Tripoli. As each pushed the other back, the victor suffered because his lines of supply stretched to nearly the breaking point. This was one of the facts that frequently denied the victor his ultimate victory. One German general aptly described the setting of the desert war as “a tactician’s paradise and a quartermaster’s hell.”
Jablonski, p. 10
Designer Trevor Bender talks of supply in a very similar manner in the Designer’s Notes for Desert Victory: “Rommel noted that for each kilometer further east his army went, his supplies had to be carried another kilometer further as well. In other words, military success could lead to logistical failure” (Bender, p. 14).
Supply Heads and Posturing
The rules for Supply in Desert Victory bring the narrative of The Desert Warriors to life. The very first step of every turn, before all else, is to conduct the Supply Phase and add that number of Supply markers to the Available Supply box. Each side places their Supply Head marker to show where their formal logistical support ends and which Supply Zones are fully supported. It is the concept of Supply Zones that make a difference for, as units advance, it is possible to pass into another Supply Zone that is not supported by your Supply Head. If that occurs, units in the unsupported Supply Zone suffer penalties, not the least of which are an inability to receive Replacements and to fight in a degraded manner.
Every turn, once each player has executed the Supply, Replacements, and Reinforcements Phases the campaigning can begin. The order of Initiative is determined by the player with the most Supply markers available. No supply, no action. Low supply, little action. Lotsa supply, many opportunities.
The Action Phases of Desert Victory harkens back to Battle for Kursk: The Tigers are Burning, 1943 from C3i Magazine Nr. 34 (2020) through the use of the Posture mechanism. In Desert Victory, every Action Phase the player select one of four Postures: Operations, Engineering, Reorganization, or Pause. Each interacts with Supply in a unique manner.
Selecting the Operations Posture allows one to move and attack. Selecting the Operations Posture will, of course, cost you a Supply marker from those in the Available box! Selecting either the Engineering or Reorganization Posture does not cost Supply (why?) though each restricts movement and combat but has other advantages.
The Pause Posture does just that, it pauses actions. Once both players chose the Pause Posture or both run out Available Supply the Action Phase of the turn ends.
Do these rules model simulate create a reasonable verisimilitude of history? In Desert Warriors, Jablonski writes:
By April 11 [1941]…the problem of logistics dictated an immediate halt to Rommel’s thrust until supply convoys could catch up with the bulk of the Axis forces. The capture of Tobruk would alleviate the problem and give him at the same time a badly needed forward supply port…But while Rommel anxiously awaited supplies and the arrival of the rest of the 15th Panzer Division, British troops, aircraft and supplies flowed into Egypt. Reinforcements, so long diverted to the ill-fated Greek expedition, were finally released on Churchill’s command for action in North Africa. The supply war had begun.
Jablonski, pp. 44-45
Let’s take a look at this situation in Desert Victory terms:
- April ’41 is in Turn 3 (Q1’41) of Desert Victory
- However, since this is the first offensive of the Germans who in Desert Victory arrive on Turn 4 (Q2’41) we will use that turn for the rest of this example
- Historically the Axis Supply Head at the start of Turn 4 was in El Agheila; the Allied Supply Head was in Benghazi
- The Axis receives four (4) Supply markers at the beginning of the Turn; the Allies get one (1)
- By the end of the turn the Axis have bypassed Tobruk which is under siege (see Ports & Sieges rules)
- The Axis front line is four (4) Supply Zones away from El Agheila
- Every Axis Armor unit in that furthest Supply Zone has its MP [Movement Points] reduced by -1 for each Supply Zone—a total of -4
- Every Axis Armor units in that furthest Supply Zone has it Combat Value reduced by -1 for each Supply Zone—a total of -4 (21st Panzer starts with 6)
- Assuming both players have now passed the next turn (Turn 5 Q3’41) begins
- The Axis Supply Head is in Bardia (Tobruk can be bypassed) and the Allied Supply Head is in Mersa Matruh
- On Turn 5 the Axis player moves one (1) new Supply marker to Available
- The Allied player moves three (3) Supply markers to Available
- The stage is now set for Operation Brevity (mid-May 1941) and Operation Battleaxe (June 1941)
Slippery ZOC
Another rule that helps create verisimilitude in Desert Victory is what designer Trevor Bender terms “slippery Zones of Control” (ZOC). As he writes in the Designer’s Notes:
Another major departure from Kursk was the use of what I call slippery Zones of Control. In Kursk, if a unit entered a ZOC, they had to immediately stop, and ZOCs were unable to be negated by friendly units. Thus, on the offense, players were always trying to make a three-hex gap in the line to allow rapid movement behind lines through the middle hex without the influence of ZOC. We took just the opposite approach in DV [Desert Victory], where friendly units can negate ZOCs for all purposes, and in fact, can do so real-time in the middle of a Move, Retreat, or Advance! This simulates the free-flowing battles that were so common in the Western Desert and is one of the new mechanics that will allow for some serious puzzling during moves and challenges you to release your inner-Desert Fox!
Bender, p. 15
In many ways this sounds like how David Jablonski in The Desert Warriors describes the start of Operation Crusader in November 1941:
The attack began on November 18, but it was not until the following day that Rommel realized he was faced with a full-scale offensive. He responded in a typically swift manner, sending the 21st Panzer Division south against the British spearheads racing for Tobruk after swinging around the Axis flank. The battle was joined and all clear patterns disappeared, as did any concept of the traditional “front line.” The fog of war descended on the Western Desert.
Jablonski, p. 56
No Dry Verisimilitude
Desert Victory: North Africa, 1940-42 is a relatively uncomplicated wargame. Using a short 16-page rule book, a single paper 34″x22″ map and 80 counters (most oversized at 3/4″) the game creates a reasonably playable verisimilitude of combat in the Western Desert in World War II. It is well worth the cost of purchase and playing time regardless if you identify as a warrior or gamer player.
Waterless Pasta
For the record, there is no “pasta rule” in Desert Victory.
Sources
Bender, Trevor (2023). Desert Victory: North Africa, 1940-42. RBM Studio.
Jablonski, David (1972). The Desert Warriors: The Battle for North Africa 1940-1943. Lancer Books.
Feature image courtesy RMN
RockyMountainNavy.com © 2007-2023 by Ian B is licensed under CC BY-SA 4.0 ![]()
