
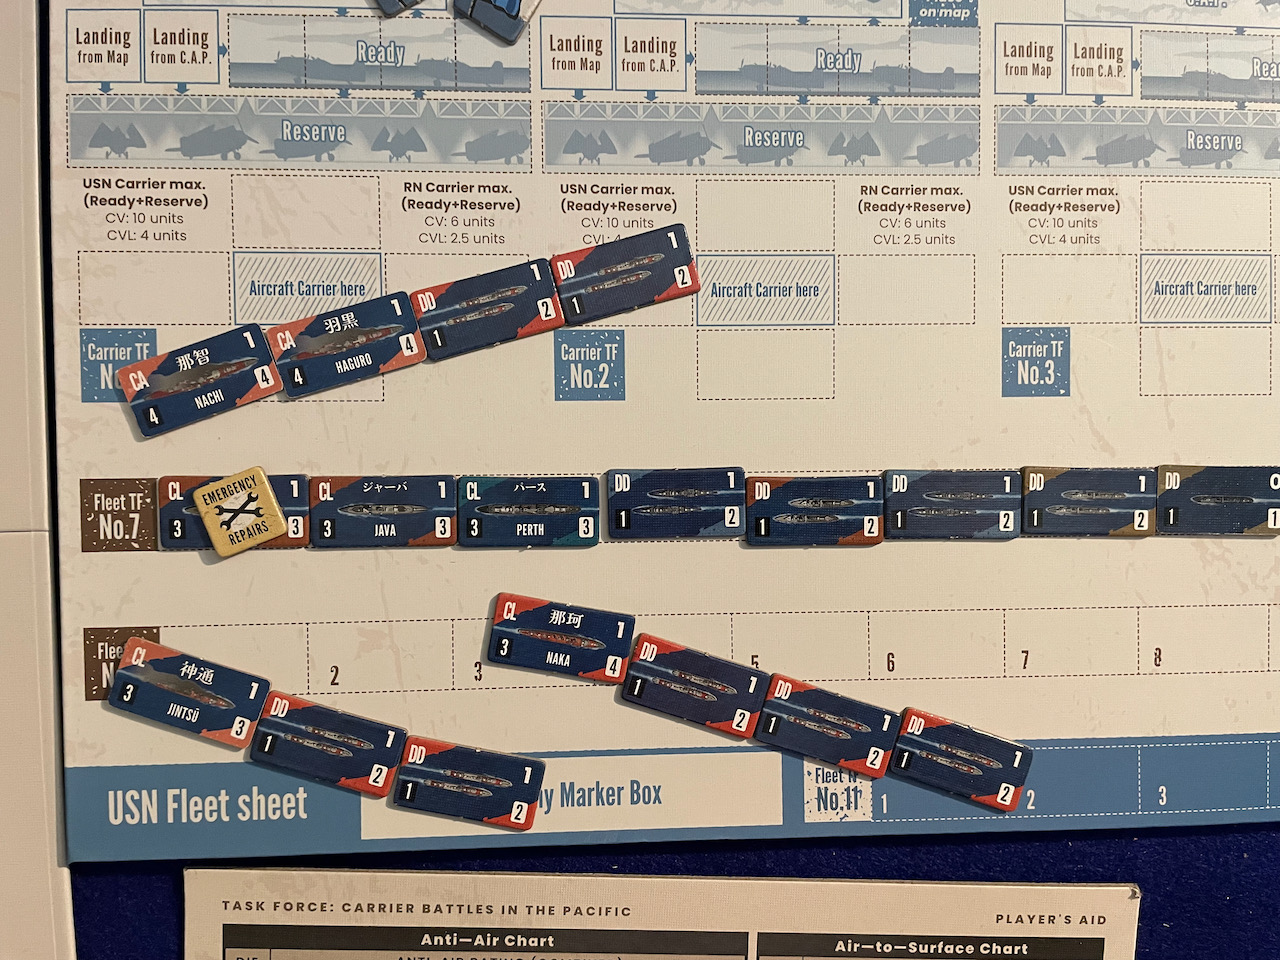
I continued my play-through of the tutorial scenarios of Task Force: Carrier Battles in the Pacific (Vuca Simulations, 2023) with “Scenario 3. Battle of the Java Sea (February 27, 1942). Every new tutorial scenario in Task Force introduces a new game mechanism; in the Java Sea scenario the rules for Initiative, Stacking, Zone of Control (ZOC) and ship-to-ship Naval combat are featured. As before, this scenario is for one player who will play the Japanese side.

In this scenario of Task Force the American, British, Dutch, & Australian (ABDA) fleet is set up with the “real Task Force (TF) 7 marker and two dummy markers shuffled and randomly placed on the at start areas. During day turns Task Force markers move 1 hex. ABDA movement is determined by a die roll with rules for movement precedence provided. When Task Force markers are adjacent to one another, i.e. in a Zone of Control (ZOC), searches can happen. As luck would have it Japanese TF 8 (Torpedo Squadron 2) has discovered the ABDA fleet.

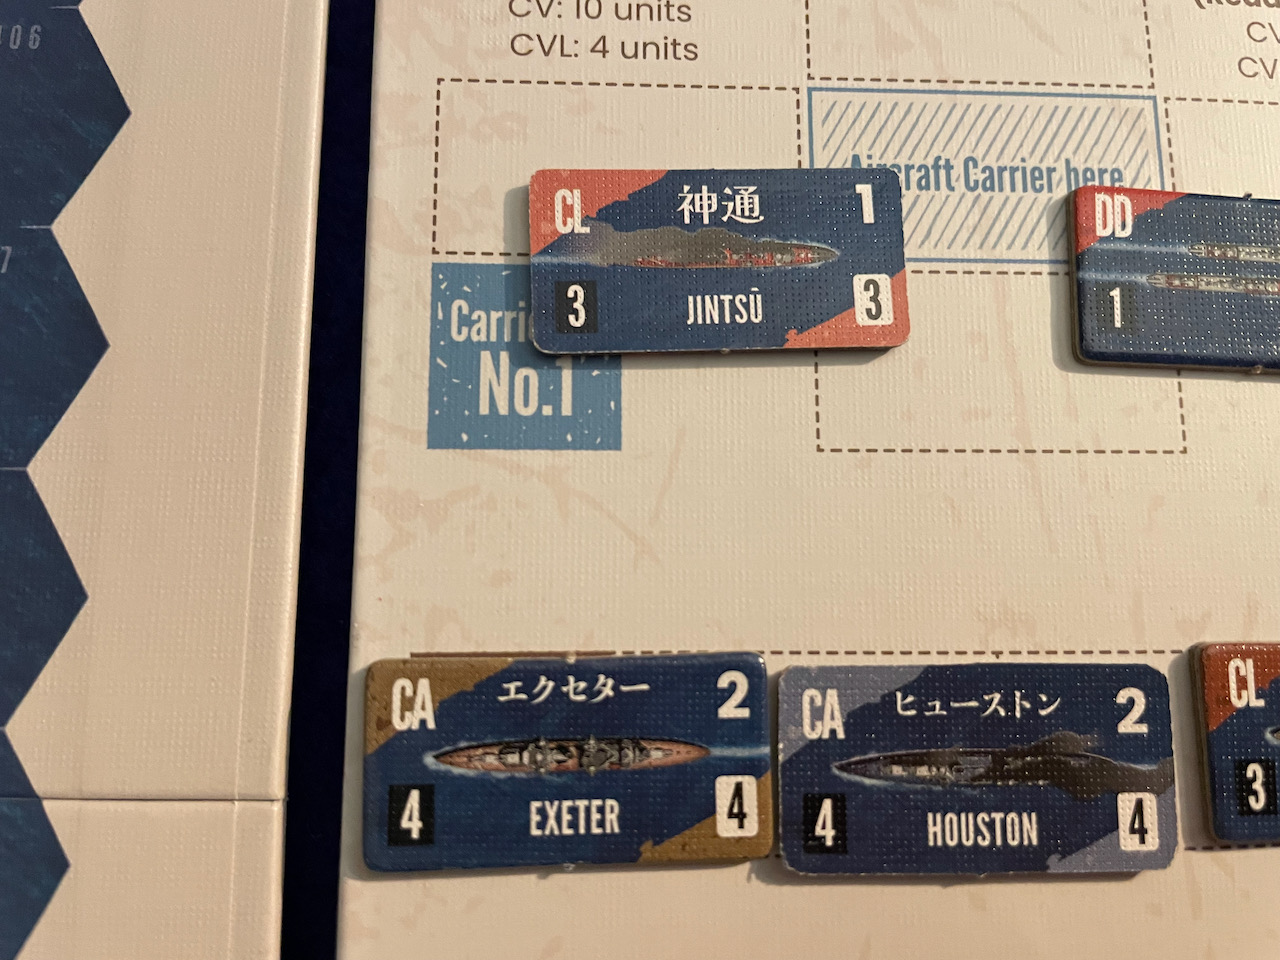
Surface Naval Combat in Task Force is abstracted into ranges according to ship type: Battleship BB / Heavy Cruiser CA / Light Cruiser CL / Destroyer DD. The initiative side gets to pick a range. In this case the Allied fleet selects “CA” so they can get a free shot at CL Jintsu without the chance of any return fire.

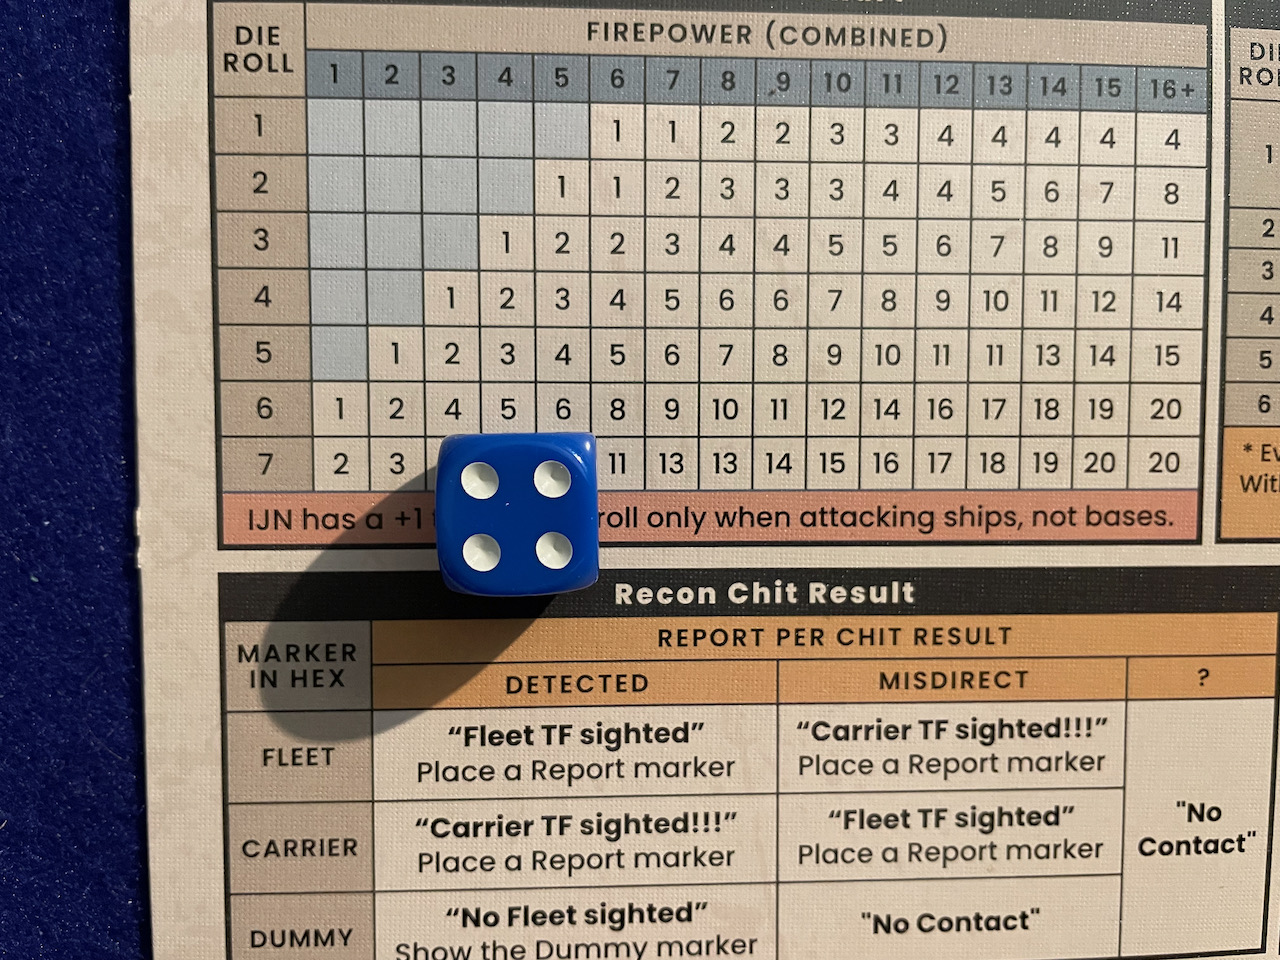
Combat is a simple roll on a Combat Results Table (CRT) to determine the number of hits. In this attack Exeter and Houston combine for a firepower of 8. The die roll of 4 yields 6 hits. Note that Houston starts this scenario with Significant Damage to reflect her historical condition.

The 6 hits on Jintsu delivers Significant Damage.
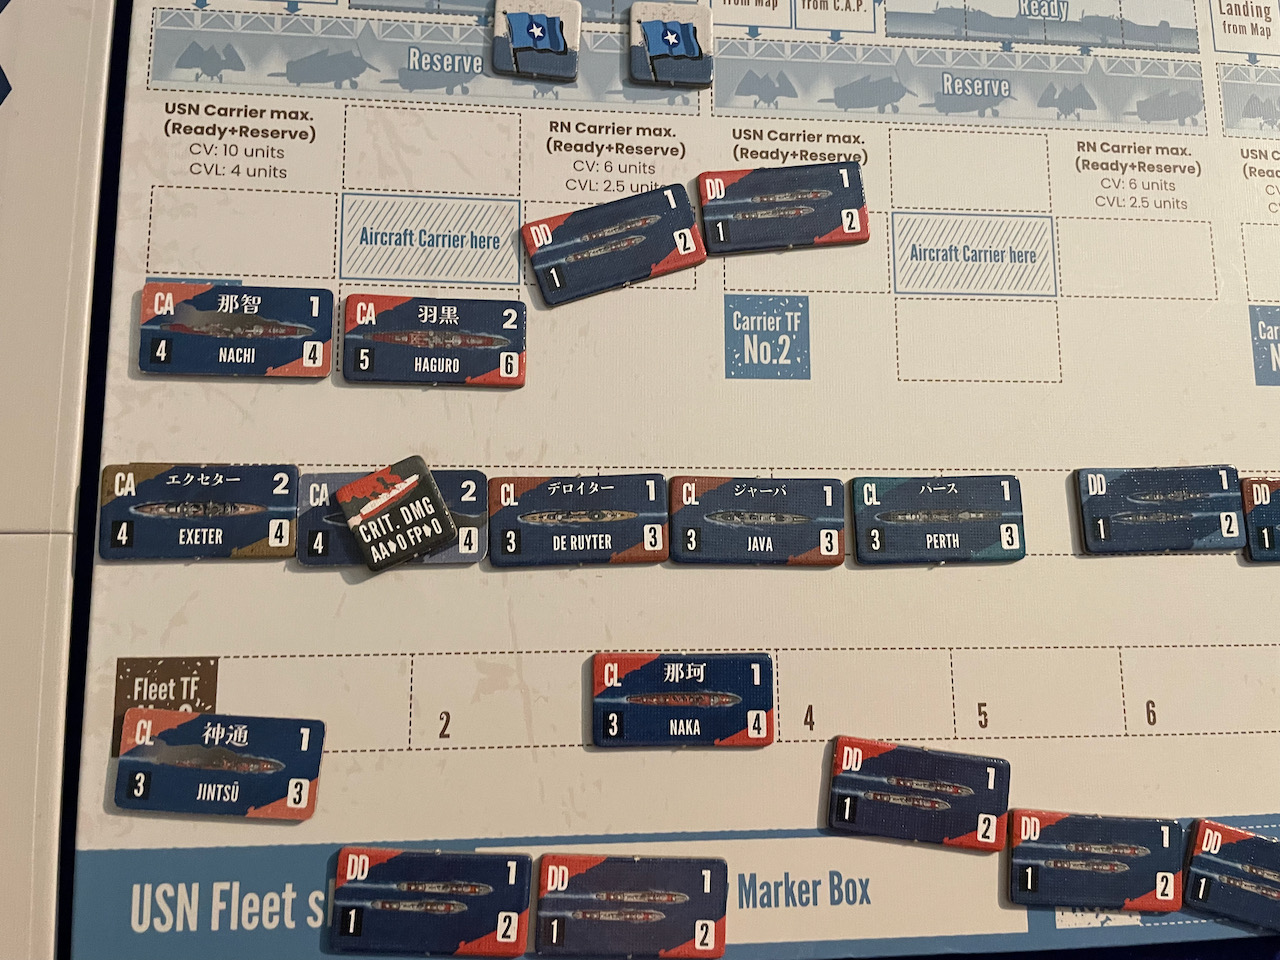
The next turn the Imperial Japanese Navy moves to close the trap on the ABDA.

There is only one round of combat in any given turn. This round the range is selected by the Japanese side which choses CA range to allow overmatch against the ABDA cruisers but not be outgunned by the numerous ABDA light cruisers.

The combined firepower of 12 for the Japanese scores 4 hits.

The ABDA can bring only 8 firepower to bear and score
The 4 hits on Houston are enough to bring her to a Critical Damage state. The 6 hits on Nachi score Significant Damage.

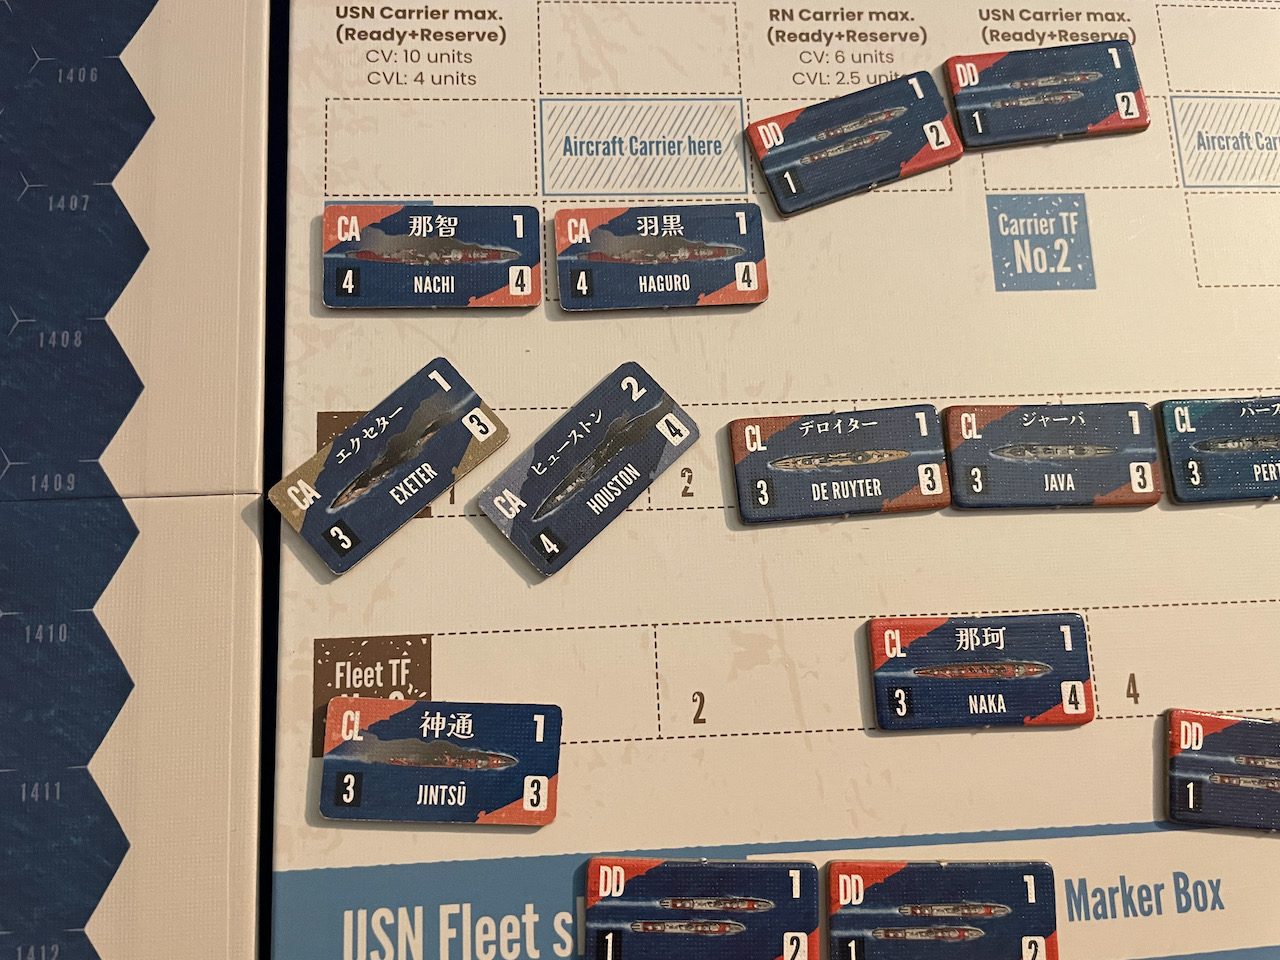
But now all the entire Japanese fleet has arrived.

The battle range is CL.
The battle goes badly for the ABDA with both cruisers sunk. It’s not shown below but De Ruyter takes Minor Damage. Both Japanese heavy cruisers and a light cruiser have Significant Damage.
The next round is a night battle.

Night battles are very good for the Japanese as the range is automatically DD and Japanese destroyers have double firepower thanks to their Long Lance torpedoes.
The results are…bloody for the ABDA player. Even so, the ABDA gets some blows in and sinks both cruisers and a light cruiser.

Technically the game can go for another turn but I have to stop the scenario here. Technically the battle is a Japanese win though the loss of two heavy cruisers this early in the war to the scratch ABDA fleet would not have gone over well in Tokyo.
In some ways Scenario 4 is an oddity in Task Force. In a game about carrier battles where does a surface combat action fit in? That said, learning the surface combat part of the game in this scenario was not onerous. I do, however, question some of the packaging decisions made in this game. Scenarios 2 and 3, both solo plays for teaching, get a separate double-sided mounted map board and a heavy chipboard set up sheet. That’s a pretty-penny of cost for what amounts to “bottom of the box” components that will likely be used once and rarely, if ever, see the gaming table again. Don’t get me wrong; the scenarios are fun to play and certainly teach more about the game mechanisms as we gear up for “the final exam,” Scenario 4 which is a hypothetical carrier battle using the complete rules set. The components for Scenarios 1 through 3 are luxurious—but do the really need to be?
Book Recommendation
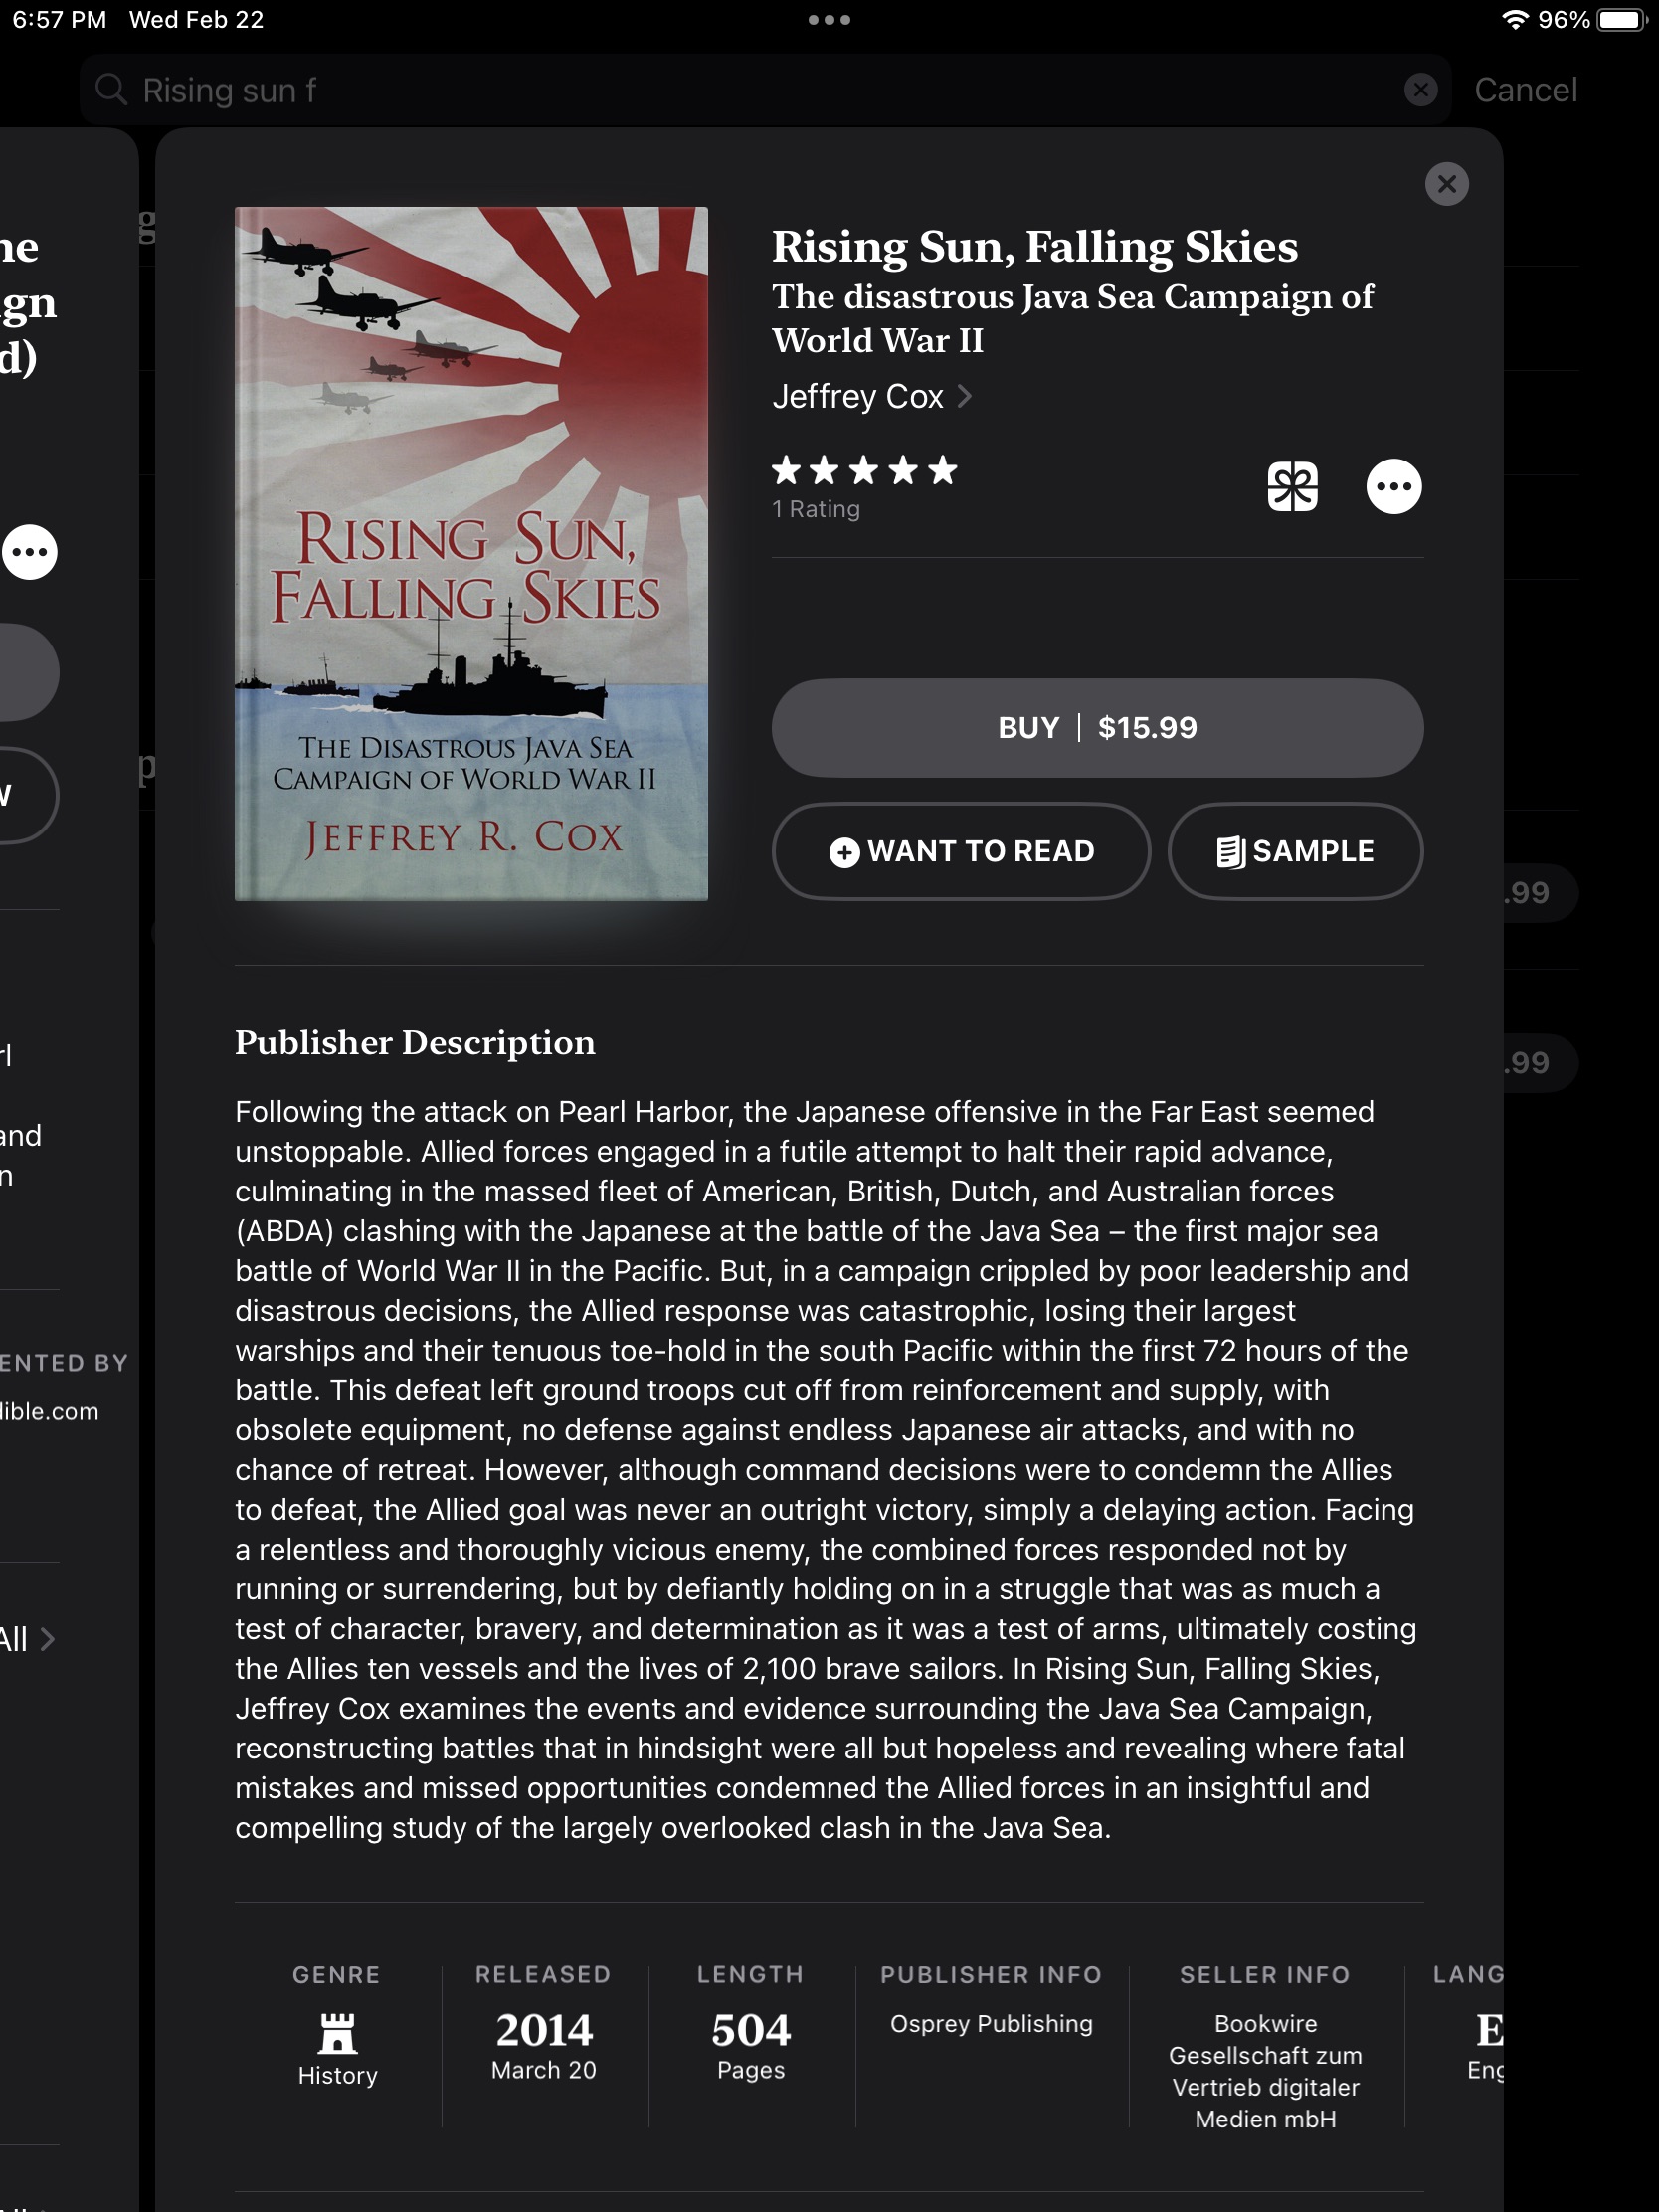
The tortuous end of the ABDA fleet seems like a little heard story. I found Rising Sun, Falling Skies: The Disastrous Java Sea Campaign of World War II by Jeffrey Cox (Osprey, 2014) to be a good telling of the history. Scenario 3 is but the final climatic battle; the entire story is truly an epic worth your time to explore.
Feature image courtesy
RockyMountainNavy.com © 2007-2023 by Ian B is licensed under CC BY-SA 4.0 ![]()

Beeing Dutch, I am somewhat more aware of the whole Java Sea thing. Also because Schout-bij-Nacht Karel Doorman (Ik val aan, volg mij!) became somewhat of a hero, postwar. And as he was conveniently dead, they could put all kinds of words in his mouth. The quote above (Ik val aan, volg mij!) is what we learned in school. Turns out that that is a rather fancyfull embelishement on the last recorded radiomessage from his flagship. That message only said; All ships follow me. But the dutch quote is more like: I’m attacking, so follow me now! Which has a more shakspearean bent to it,, like the Once more into the breach thing.
I also read that part of the problem that the ABDA command had is that it more or less disrupted the training and doctrine that the Dutch East Indies fleet, together with their flying boats in the Marine Luchtvaartdienst (Dutch equivalent of the FAA in the RN) had trained for in the years preceding the war. And that the allied ship captains had different ideas about how, and where, to fight. All in all a recipe for defeat/disaster